
When you first launch your website, managing documents in WordPress feels effortless. You can easily find the files you need with minimal effort. But as your site grows, the story changes.
You start adding more content to your website. Now you have blog post images, product PDFs, team photos, marketing assets and so much more. And before you know it, your media library starts feeling crowded and chaotic.
The problem arises when you need to find specific documents from your media library, especially if you don’t remember the file name correctly. This lack of organization can not only lead to frustration but can also hamper your productivity.
Luckily, your media library doesn’t have to be that way anymore. With tools like Filr, you can organize your WordPress documents and create a system that’s easy to manage.
In this post, we’ll talk about how Filr can transform the way you organize your WordPress documents. But before we begin, let’s understand why it’s important to organize your documents in WordPress.
Why Organize Documents in WordPress
Managing your WordPress document efficiently is extremely important. This is especially true for websites with a large amount of content or multiple contributors.
Organizing your WordPress documents allows you to structure them under proper categories, tags, or folders. Contributors can use these categories, tags, or folders to easily locate their files without having to remember the file names.
This helps keep your site relevant and up-to-date while offering a seamless experience to users in the back end.
Now that you know the importance of organizing your WordPress documents let’s understand the default WordPress media library and how it works.
Understanding the Default WordPress Media Library
By default, WordPress stores all the uploaded media files in a centralized location called the WordPress Media Library.
Here you’ll find all the media files, such as images, videos, PDFs, audio, etc. that you’ve uploaded to your website. You can access the media library from your WordPress dashboard.
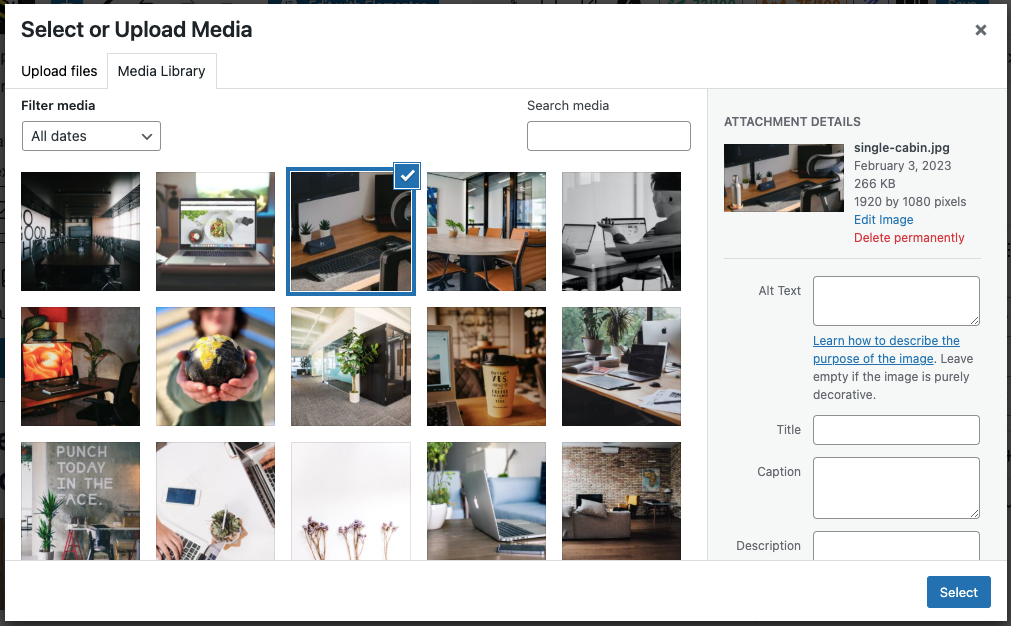
Here you can upload various file types like images, audio, video, documents, spreadsheets, etc. using the Upload button.

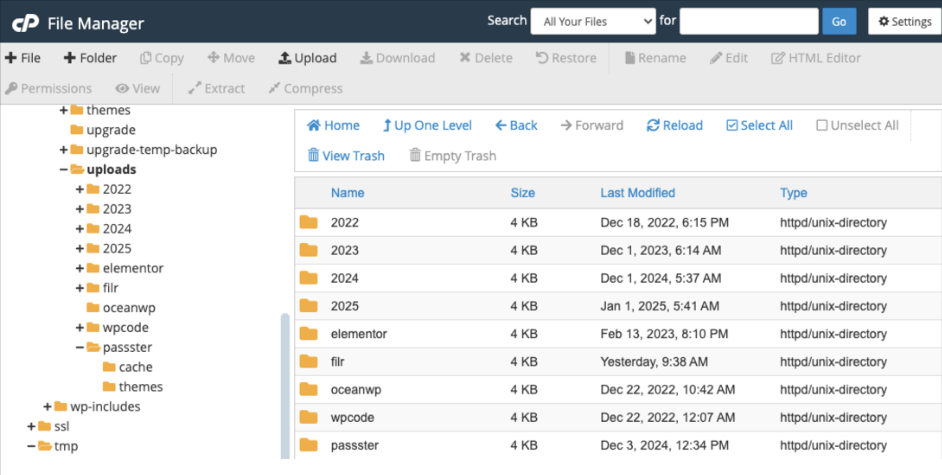
You can find the actual location of your Media Library Folder through your web hosting cPanel by navigating to File Manager > uploads.
Here, WordPress automatically creates different sub-folders based on years and months. It then organizes and adds media files to these folders based on the dates you upload them.
Now the problem is that the default WordPress media library comes with its limitations. It lacks several important features that help you manage your files effectively on your website.
Let’s look at some of those limitations in the following section.
Drawbacks of the Default WordPress Media Library
The default WordPress Media Library allows you to create a basic document management system. The problem is that it comes with several drawbacks. Let’s look at some of these drawbacks here:
- Cannot Classify Uploads – It only allows you to arrange your files based on their upload date. You cannot categorize or group them under custom folders. So you can’t classify the uploads based on criteria other than the upload date.
- Cannot Prevent Unauthorized Access – It lacks security control that prevents unauthorized users from accessing the uploaded WordPress documents.
- Lacks Filtered Search Option – It lacks filter options to help you improve search results.
- Does not Allow Document Expiry – Once you upload and publish a file, there’s no way to automatically expire it upon a set date. This feature can be helpful if you publish timed content on your website.
Fortunately, you can solve all the above problems by using the Filr WordPress document management plugin. Let’s learn a bit about it.
Filr Plugin – The Best WordPress Document Management Plugin
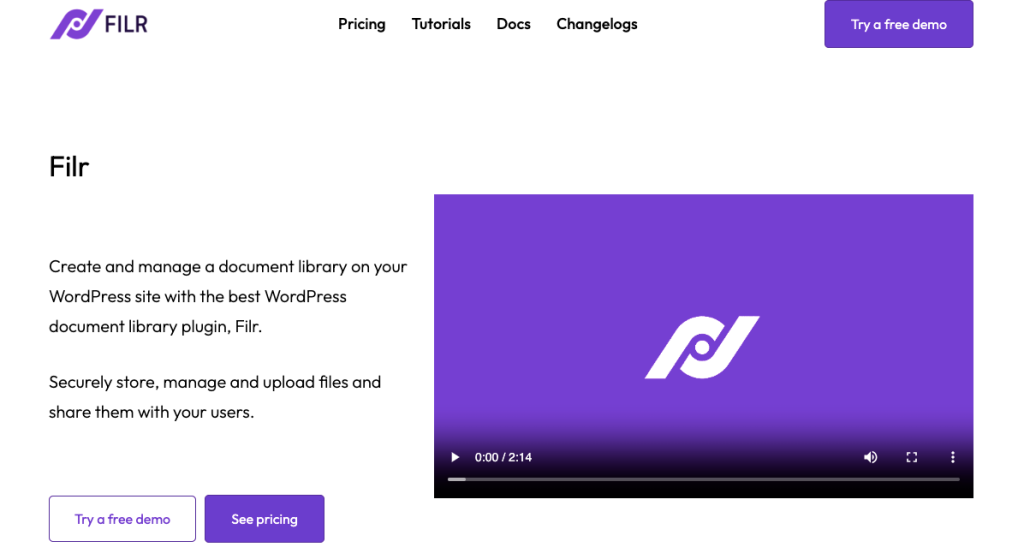
Filr is one of the most effective WordPress plugins that helps you create and manage your documents on your WordPress dashboard. This plugin is super user-friendly and even a newbie without experience can use it with ease.
The plugin comes in two different versions –
- Lite Version or the Free Version
- Pro Version or the Paid Version
Although the lite version is an equally great option to manage and organize your WordPress documents, the pro version comes with even more options.
The pro version of the plugin, lets you control the file expiration by date. You can even restrict access to your files by email or user role to keep your files secure. And not just that, it also allows your users to add documents from the front end of your website.
With many other amazing features, this plugin is a must-have for anyone who wants to manage and organize their documents in the WordPress media library. Now let’s check out how to do that with Filr.
How to Organize WordPress Documents with Filr
In this section, we’ll walk you through a step-by-step tutorial on how to organize your WordPress documents using Filr. For the sake of this tutorial, we’ll be using the Lite version of the plugin. However, we’ll also explain how to activate the pro version.
Towards the end of the post, we’ll tell you about the additional features you can have when using the pro version of the plugin.
So let’s get started. We’ll begin by installing and activating the plugin in WordPress.
Step 1: Install and Activate Filr WordPress plugin
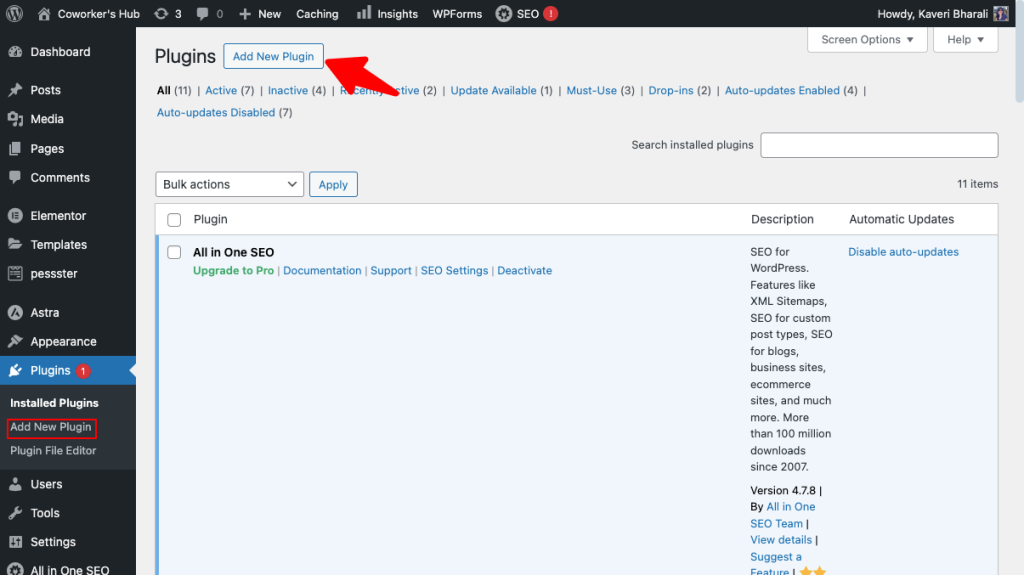
To install the Filr plugin, navigate to Plugins > Add New Plugin
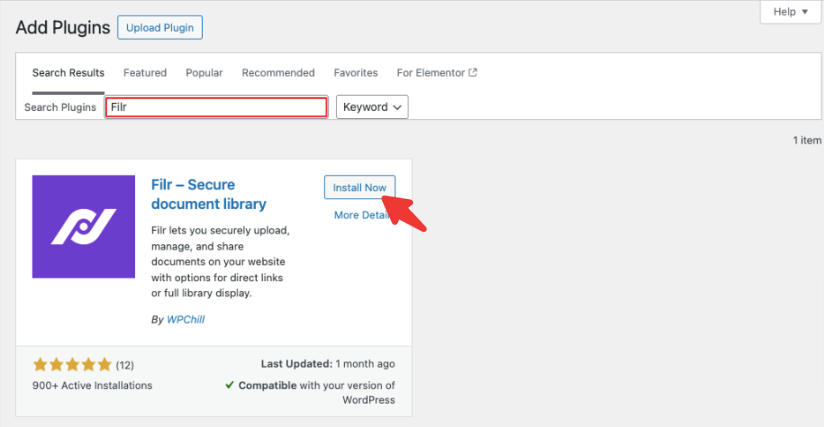
Then using the search box, find the Filr plugin and click Install Now > Activate.
Once the plugin is activated on your website, you can start creating your Document Library. If you want to use the pro version, you have to follow a different method.
To use the pro version of Filr you’ll first need to purchase Filr.
Once you do that, you’ll receive an email notification with a download link and a license key. Click on the download link to download the Filr plugin premium version. Then you can take the following steps.
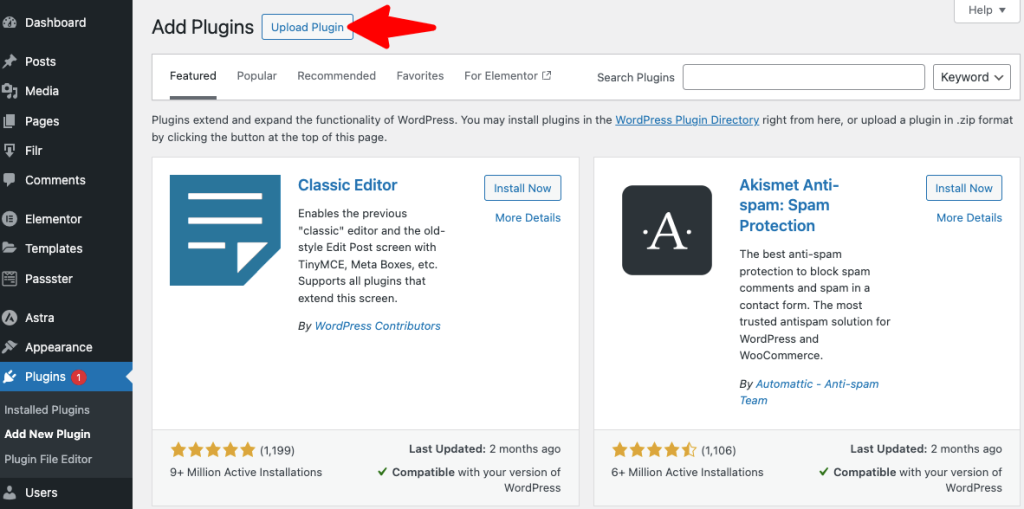
On your WordPress dashboard, go to Plugins > Add New > Upload Plugin. Now click on the Choose File button to upload the file that you’ve just downloaded.
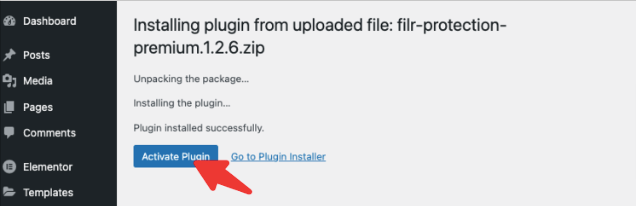
Once done, click on Install Plugin > Activate Plugin to start the installation process.
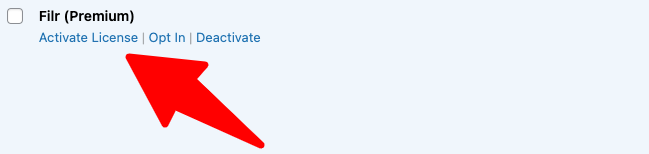
Your plugin will now be active on your website. To start using the pro version of the plugin, you’ll need to add the license key. To do so, go to Plugins > Filr > Activate License on your WordPress dashboard.
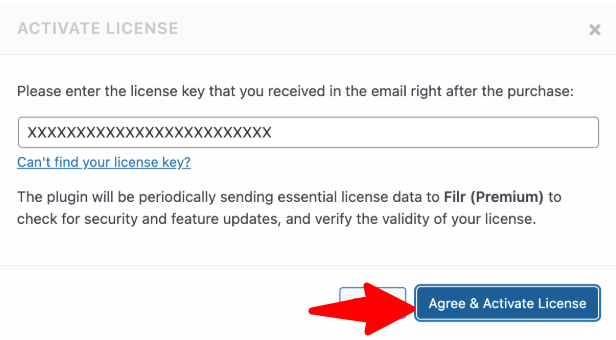
You’ll now see a popup box where you can add the License key. Copy the key from your email and paste it here. Then click Agree and Activate License.
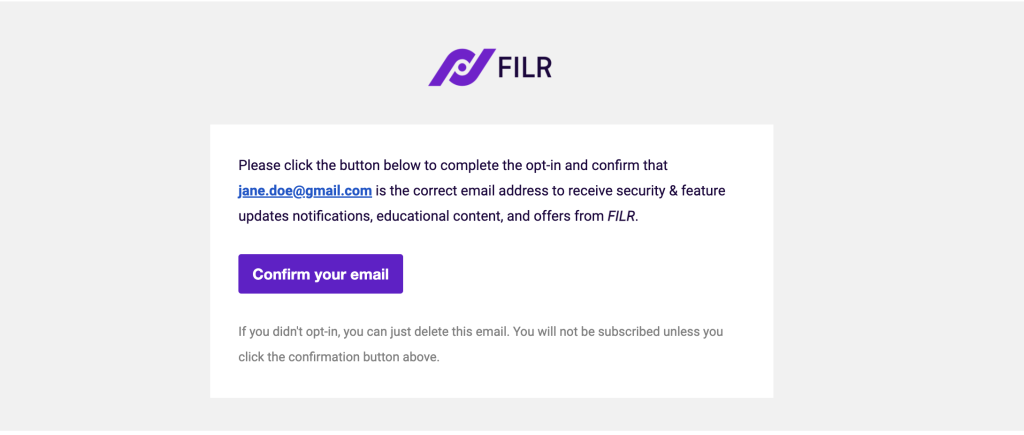
On your WordPress dashboard, you’ll see a message saying you’ll receive an email on your registered email address where you need to confirm the opt-in.
So go to your email address and click on Confirm Your Email to activate the pro version of the plugin.
Step 2: Create a Document Library
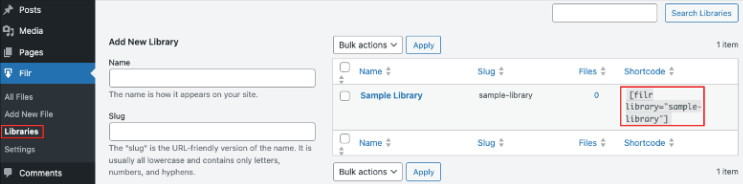
In the next step, we’ll create the document library. For that, go to Filr > Libraries. On the right side of your screen, you’ll see various fields under the Add New Library option. Here you can fill in the details as labeled.
You just have to fill in your library name, and add the slug (which is the same as your library name but in lower caps and with a hyphen in between the names).
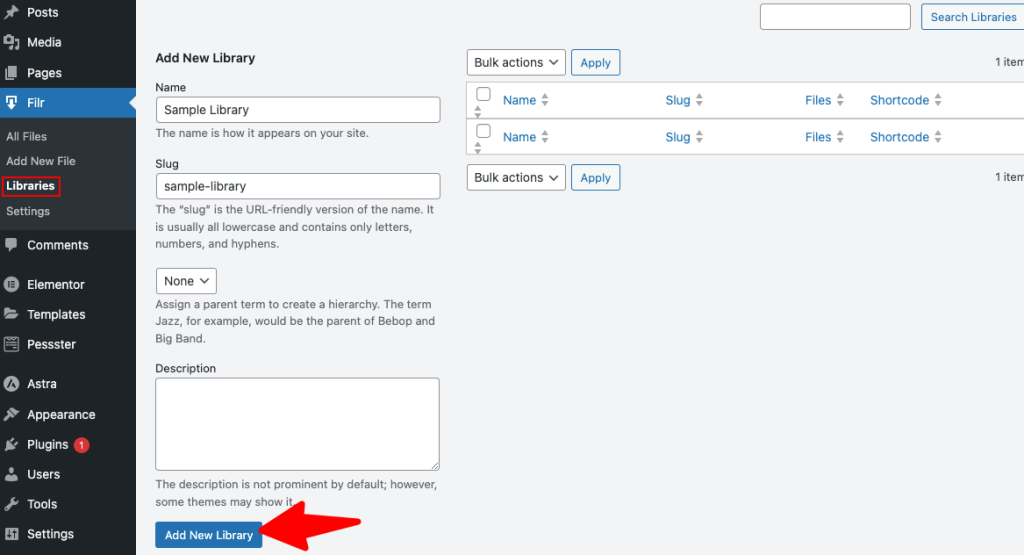
Once done, click on the Add New Library button at the bottom. Now on the right side, you’ll see the newly created library along with the slug and the shortcode next to it.
We’ll use this shortcode later to display your document library on your website. Now you’ll have to add your files to this library.
Step 3: Add Files to Your Document Library
To start adding new files to your library, go to Filr > Add New on your WordPress dashboard. Here you can add a title and start adding your files using the Browse Files button.
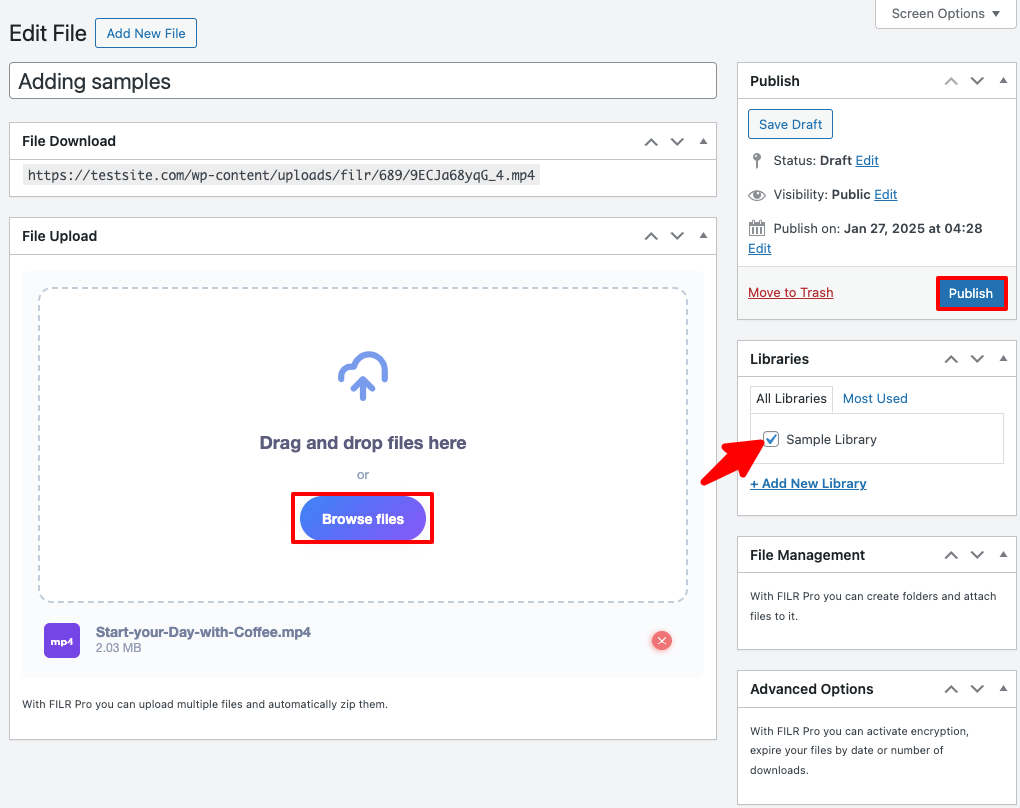
Next under the Library option, on your right, select Sample Library. This will connect the library and file you’ve created and keep them organized under one section. Once you’re done click on the Publish button to set it live.
Step 4: Display the Library on Your WordPress Website
Now that we’ve created your library and added some files to it, it’s time to showcase it on your WordPress website. To do that, go to Pages > Add New and create a new page on your WordPress dashboard.
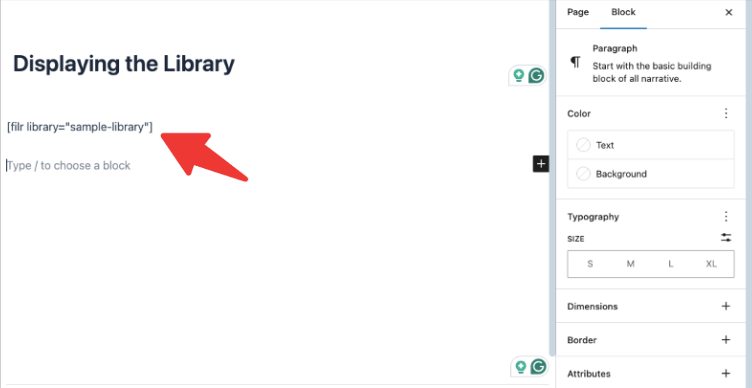
Next, give this page a name and add all the additional information or content you want on the page. Once you’ve done that, again on your WordPress dashboard, go to Filr > Libraries. From here, copy the shortcode of the library that you created in step 2.
Paste this shortcode in the new page that you’ve just created. Next, hit the Publish button. You can also add any other content that you want to the page. We are adding some demo content here for your understanding.
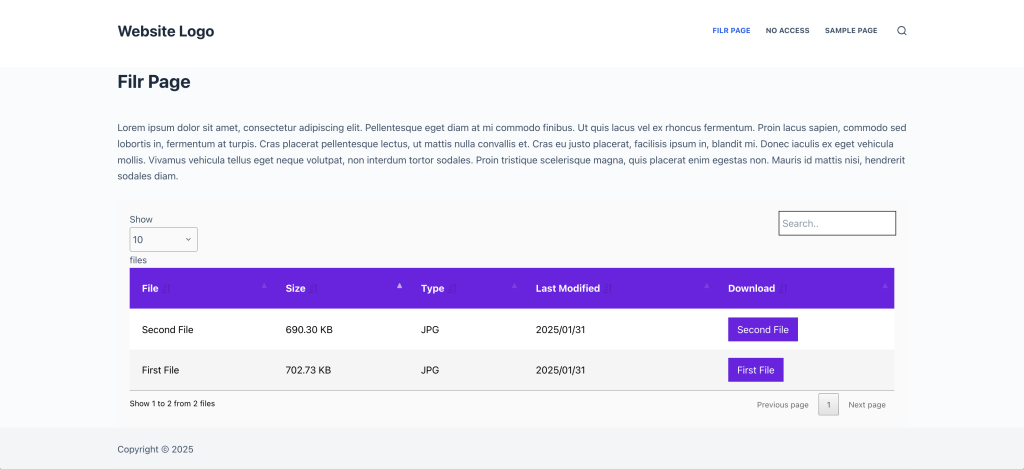
Your document library will now start reflecting on the front end of this page.
Customizing the Appearance of Your Document Library
The best thing about Filr is that it lets you customize the look and feel of your Document Library. Although the default option looks good too, sometimes you might want to match it to your brand colors. In that case, customizing it can be super easy.
To do that, go to Filr > Settings > Libraries.

Here you can easily change the color and style of your library. It lets you change the background color of your table headings and even the entire table. You can also add hover effects, change the button color, and button font color, add a table radius, and more.
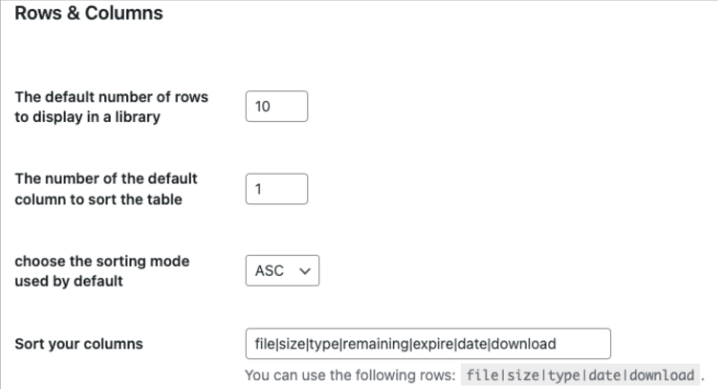
By scrolling further, you’ll see options to customize the rows and columns as well. Here you can add the number of rows and columns you want. You can also choose the sorting mode in this section.
If you scroll further down, you’ll see options to deactivate the name column, file size column, type column, etc.

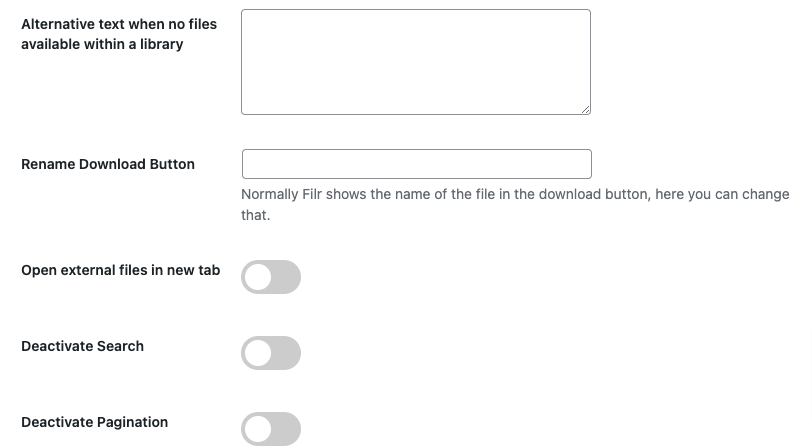
By scrolling further below, you can also add alternative text for folders that contain no files. You can also rename your download button, activate file preview, enable the opening of the external file in a new tab, and deactivate the search option and pagination options.
Just scroll through these options and turn them on or off based on your requirements. Once done, hit the Save button to save the changes.
Adding Overall Security to Your Documents with Filr
In this section, let’s learn how to add document security with Filr. By adding security measures to your documents, you can control who can access your files.
To start adding security measures to your files, go to Filr > Settings > Status
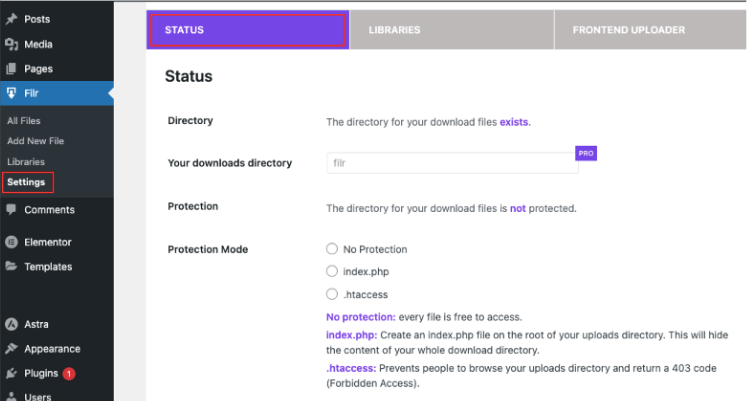
Here under Protection, you’ll have three options. Based on your needs, you can choose the kind of protection you want.
- No Protection – If you don’t need any protection select this option.
- Index.php – Select this option if you want to restrict access to an entire file directory. You can also select this option if you’re using server types like Nginx or Windows.
- .htaccess – You can select this option if you use an Apache server. This will forbid unauthorized access to any files within a directory.
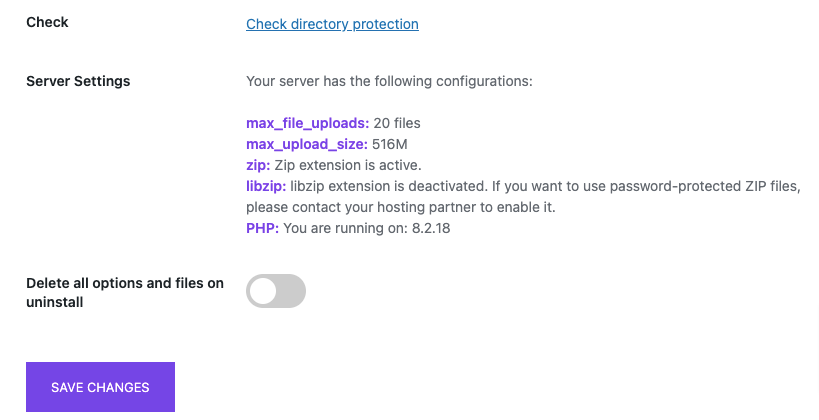
Once you’ve made all the changes, click the Save Changes button to save the changes. This was about the lite version of the plugin. Let’s now look at some of the pro features.
Filr Pro Features
Using the Pro version of Filr lets you use several additional features. Let’s look at some of them in this section.
1. More Options Upon Adding Files
If you’re using the pro version of the plugin, when you add your files, you’ll see more options on the right of your screen under various sections. Lets look at the File Management section for example.
Here, if you’re uploading more than one file, you can organize them in a folder by creating a folder. For that, click on the toggle bar labeled Use as folder instead of a file.
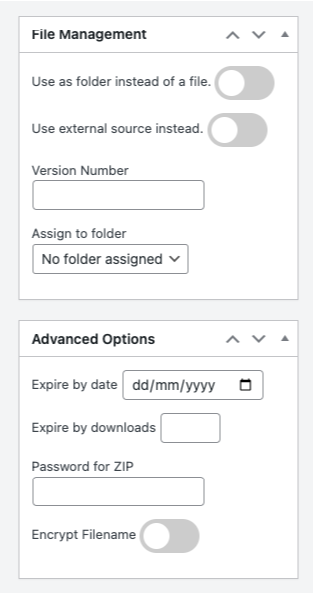
Now you can scroll down to find the Advanced Option. Under this section, you can do the following –
- set an expiration date for the file
- set the number of downloads after which you want the file to expiry
- add a password for the ZIP
- encrypt the filename
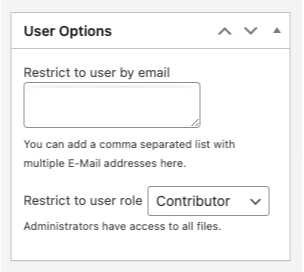
Filr Pro also lets you determine who can access this file by email or WordPress user role. For that, you can scroll down the page to find the User Options.
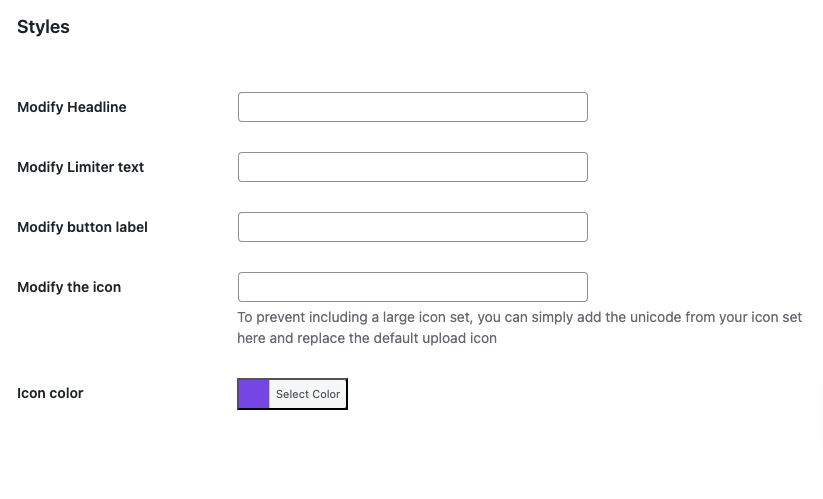
2. More Customization Options
Apart from the above customization options, here are a few more options that come with the pro plugin.
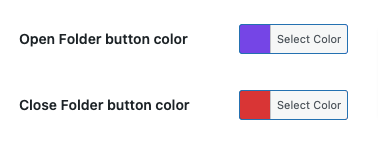
First, you can add your own colors for folders when it is opened by the user. You can also change this color when the folder is closed.
You also have the option to deactivate the following columns.
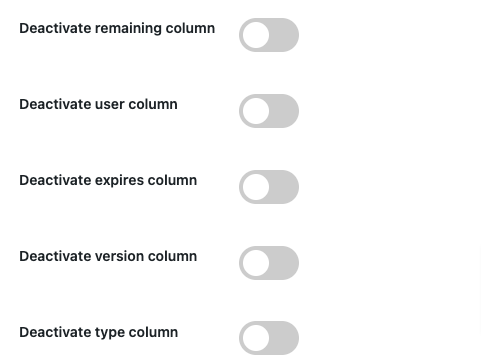
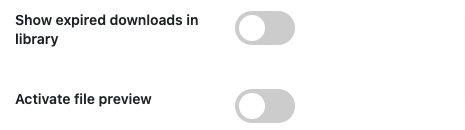
In the pro version, under Additional Settings, you can also enable showing the expired downloads in the library, and activate the file preview as well.
If you’re using the pro version, you can also add a date to deactivate a specific column and deactivate the expired column and the version column.
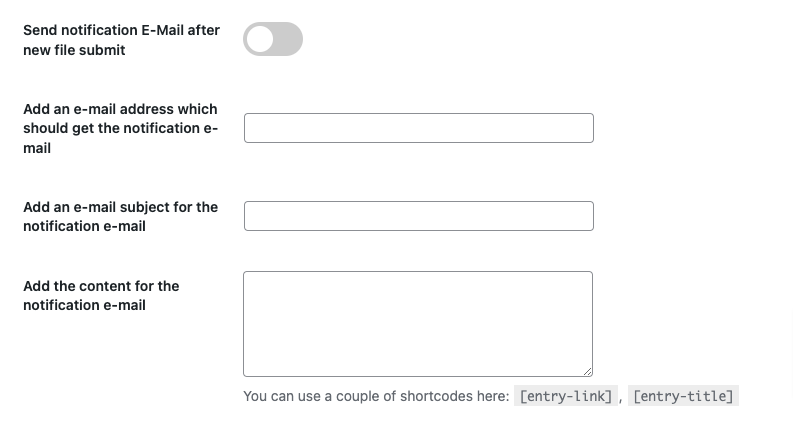
3. Frontend Uploader Option
With the pro version, you can also allow your users to upload files from the front end of your website.
You can also send an email to your users once the file is submitted along with several other amazing features. Here’s a screenshot of them.
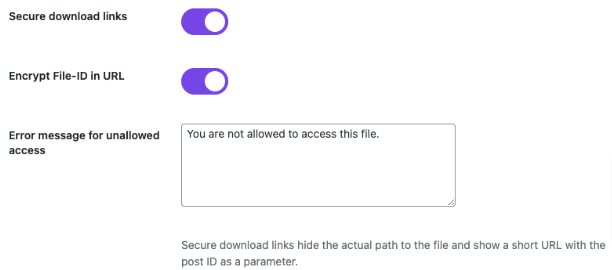
4. Security Features
If you have the pro version of the plugin, you can protect your document further by securing your download links. For that, turn on the Secure Download Links option. You’ll also find options to encrypt file IDs in URLs. All you have to do is turn on the Encrypt File-ID in URL option. You can also add an error message for users with unallowed access.
Now that you know the differences between the lite and the pro version, you can select which one to opt for based on your requirements.
Conclusion
Managing a large volume of WordPress documents can be a daunting task. But with Filr, it doesn’t have to be. This powerful WordPress plugin is designed to help you manage any amount of digital files easily and efficiently.
Whether you’re dealing with a few important files or a vast collection of documents and other digital assets, Filr is up to the task. It simplifies the process of organizing your site’s files, making search and retrieval straightforward and quick.
But Filr doesn’t stop there. It also enhances collaboration, making working together easier for you and your colleagues. Plus, it ensures secure file access, giving you peace of mind.
So don’t let document management be a headache. Start using Filr today and experience a more secure, flexible, and user-friendly way to organize your WordPress documents.